Librequake Shambler Texture Painting Workflow
Posted on 2024-05-06 in projects
Update (2024-09-06)
I was very unhappy with the texture result and restarted the whole process without recording myself and paying attention that the colors are pleasing. The first one was way too dark and dirty and I am happier with this second attempt.

Original Post (2024-05-06)
Once again I have recorded myself painting.
Since I switchted from painting in Krita 2D only to using Blender I thought maybe that would be a cool idea.
It started with fixing seams in blender, where I would go over problematic seams with the smudge tool in blender and I always hesitated to just fully do it in Blender because the toolset seems so shit.
There are no layers, no filters, no everything. Its super bare bones.
Let me tell you, it turns out I don't even need all these tools. The toolset in blender is not zero. There are blending modes, smudge and blur. You can easliy mask of where you want to paint an where not. There is mirroring. There is a color picker and swatcher, a lot of undo steps and thats pretty much enough.
I used krita on two occasions. When I want to work with the palette conversion in realtime and when I need to copy paste 2d sections for some reasons.
The highend route to take is Substance Painter with Pixel8r and if you have the money just use that. For all the other poor bastards blender does it just well enough.
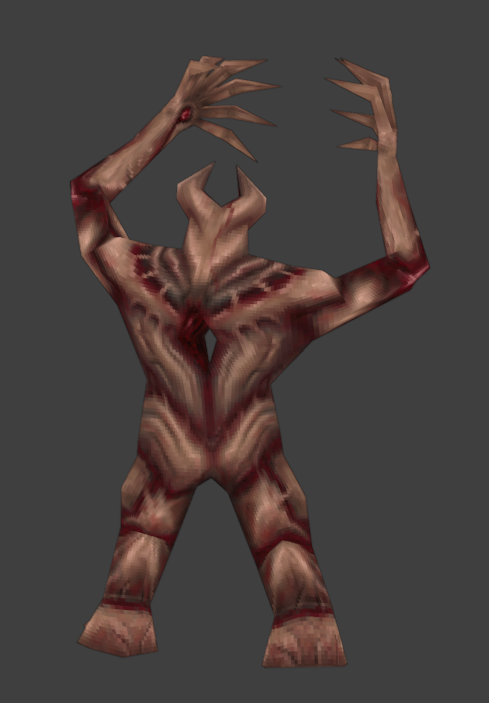
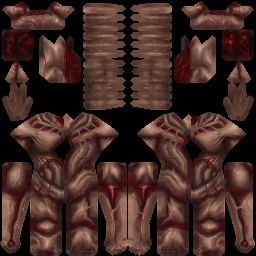
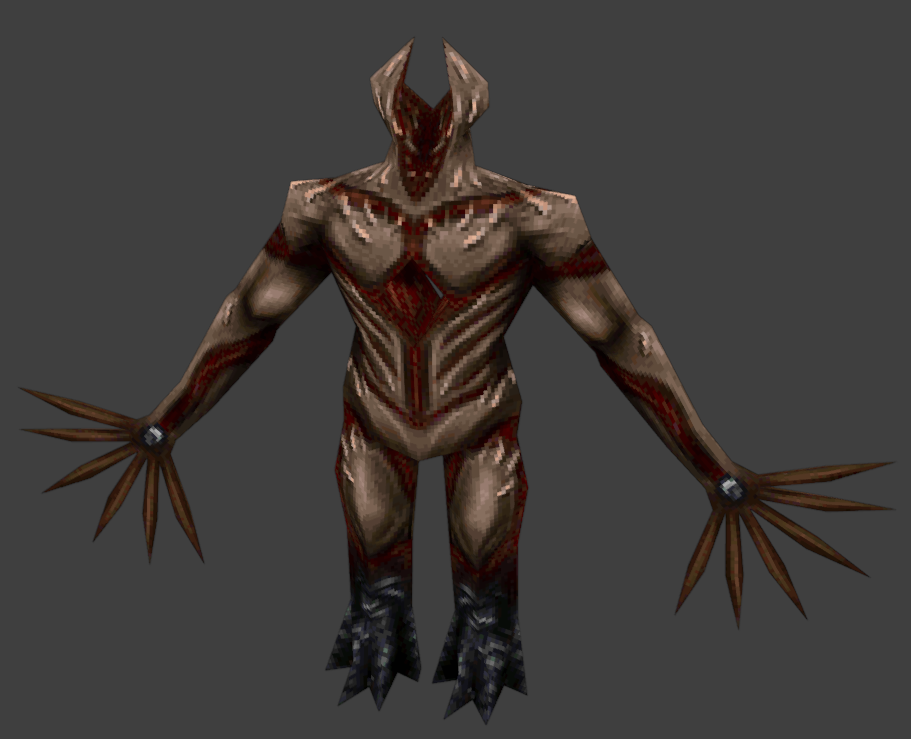
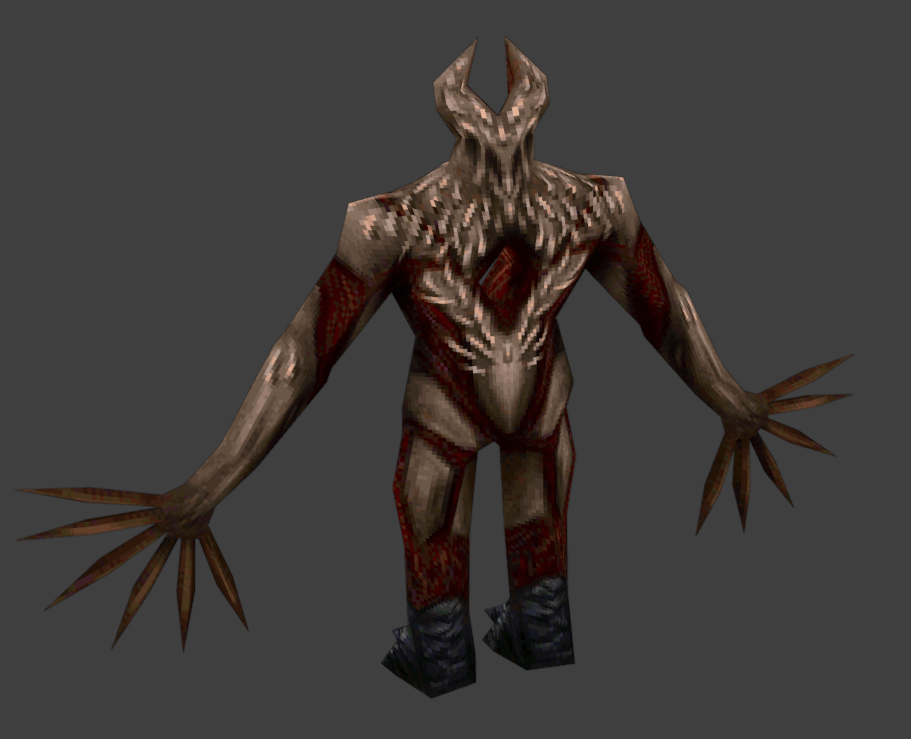
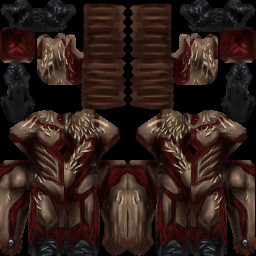
The texture
This texure is for the Librequake shambler replacement which is based of this concept and the main inspiration for the texturing

Here are the results
I have to say that recording myself kind of sucked the fun out of texturing. I am also not really happy with the results and will attribute that by at least 50% to the fact that I was recording. I can't help but feel rushed. The realtime work in the video is 2.5h which seems very little.